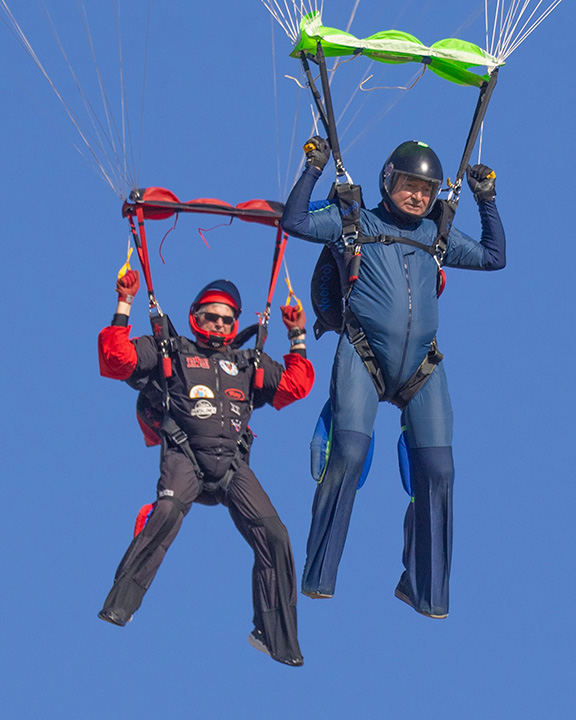
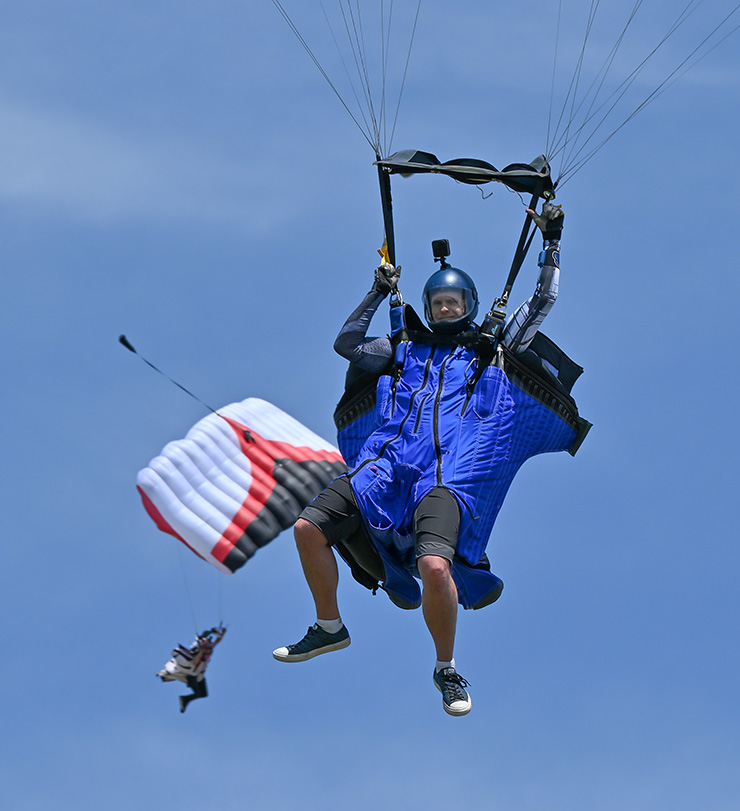
Above: Photo by Matt Jackson.
Over the last 30 years, fatal and non-fatal incident reports show that the largest percentage of skydiving accidents happen under fully inflated parachutes. In response to this, USPA integrated canopy skills into the A-license training progression and created the B-license canopy card to address emergencies that happen under fully inflated canopies after opening, during canopy flight and during landing. USPA Board President Chuck Akers also recently established a Canopy Task Force to review the current status of canopy-flight education and improve methods of canopy training. For this year’s Safety Day on March 9, the Canopy Task Force aims to improve the canopy skills and long-term proficiency of all jumpers, whether they have just a handful or thousands of jumps, with the Stay Alive—Practice Five campaign.
The task force identified five canopy-flight emergency procedure drills that, with regular practice, will build the muscle memory and proficiency necessary to avoid incidents while flying and landing a parachute. The five skills include rear-riser turns, 90-degree braked turns, half-braked flares, reverse turns (aka turn reversals) and low-turn recovery. The goal is for jumpers to practice these canopy-flight EPS at least once a month, so that when they’re surprised by an emergency under canopy, they react quickly and correctly. (After all, don’t you rehearse your cutaway procedures at least as often?)
Taking a canopy class or receiving instruction from a canopy coach is a great way to learn these skills. During many of the Safety Day events this month, USPA Instructors and Safety and Training Advisors will teach and answer any questions about the skills on the following pages. Jumpers can find a list of participating DZs, as well as the date of their Safety Day event (some choose dates other than March 9).
Stay Alive—Practice Five Exercises (Perform Above 2,000 Feet)
1| Rear-Riser Turns
Why? Practicing rear-riser turns teaches you the full range of rear-riser inputs for your canopy at your wing loading. Steering using rear risers, with the brakes still set, is the fastest way to change direction after opening.
When? You can use rear-riser turns for collision avoidance after opening your canopy or during the canopy descent. You can also use rear-riser inputs to control a slow-speed malfunction before a cutaway.
How? Practice rear-riser turns both with the brakes stowed and with the brakes released. Immediately after opening, after determining that the canopy is flying straight and stable, place both hands on the rear risers (with brakes stowed), clear your airspace and perform 90-degree turns. A method for performing rear-riser turns involves grasping the area above the toggle stow and pulling downward only until your elbow forms a 90-degree angle. Take note of how far you need to pull down the rear riser to accomplish a quick but stable 90-degree turn. To avoid a canopy collision right after opening, follow the “rules of the air” by always turning right (unless it is faster to turn left).
After releasing your brakes and doing a controllability check, clear your airspace, and with the toggles in your hands, grasp the area above where the toggle was stowed and pull downward until your elbow forms a 90-degree angle to complete a 90-degree turn. It is important to know the limits of your parachute at your wing loading to effectively avoid a collision with a rear-riser turn while also maintaining a stable wing. An overly aggressive turn with rear risers can result in a canopy stall and line twists—possibly fatal at low altitudes—so jumpers must learn what those limits are on the canopy they are flying.
2| 90-Degree Braked Turns
Why? Practicing braked turns gives you the ability to change direction under canopy while losing as little altitude as possible, slow your forward speed and maintain a level wing with stability under the parachute throughout the maneuver.
When? Flying your parachute in brakes slows your forward speed and your descent rate, buying you precious time and altitude to make decisions. Anytime your canopy descent is not going as planned, go into brakes and assess your situation. Object avoidance on landing may require a turn at a low altitude, so having this skill dialed in may be one of the most important things you can practice. A braked turn allows you to honor the number-one landing priority: landing with a level wing.
 Photo by Mike McGowan.
How? Practice braked turns from the slowest speed at which the canopy will fly above the stall point. If you do not know your stall point on your current canopy, you must find that first. To practice the slowest speed braked turns that lose the least amount of altitude, first check your canopy, altitude, position and traffic. Pull both toggles down smoothly and evenly to deep brakes, just above the stall point. Take note where your hands are on your body as a reference and to build muscle memory. Raise one toggle slightly to initiate a 90-degree turn in the opposite direction. Push the toggle back down even with the other toggle to stop the turn. Try to change heading as quickly as possible while keeping the wing level.
To practice braked turns from the half- to three-quarters-braked position, pull both toggles down evenly to at least the half-braked position. Push one toggle down slightly to initiate a 90-degree turn. The deeper in brakes you are flying the canopy and initiating the turn, the less altitude you will lose during the turn. Practice changing heading as quickly as possible, while keeping the wing level.
3| Half-Braked Flares
Why? Practicing braked flares is important for improving flare technique and for learning the effectiveness of your flare when executing or finishing a flare from a braked position.
When? Anytime you find yourself at a low altitude, don’t have time or altitude to return to full flight and need to flare from a braked position to avoid entering a flight cycle. For example, you may need to use a braked flare if you initially flared too high or used a braked turn to avoid an obstacle on landing.
How? To practice braked flares, first check your canopy, altitude, position and traffic. For reference, start with a flare from full flight, using your normal landing technique. Note the pitch change of your parachute and your swing forward under the parachute when at full flare.
Pull the toggles to a half-braked position and hold for 4-5 seconds to stabilize under the parachute. Flare at a speed faster and with more force than your normal flare stroke. Note the pitch change of your parachute and your swing forward under the parachute during the braked flare. Adjust the speed and force of the braked flare on multiple practices with the goal to most effectively match the power and swing under the canopy of a flare from full flight.
4| Reverse Turns (aka Turn Reversals)
Why? Practicing turn reversals is important for learning the limits of your canopy related to the max speed and depth of a toggle input when reversing a turn, with the goal of maintaining line tension and not inducing line twist. Line twists can occur if the jumper pulls down the toggle too quickly when starting a turn or raising it too quickly to stop a turn. You must know the maximum safe rate of turn, which is a result of the speed and depth of your toggle input, for each canopy you jump. Line twists at landing-pattern altitude may be unrecoverable in time for a safe landing, particularly with a higher wing loading.
When? Canopy collision avoidance is the primary use for a turn reversal. A canopy collision can happen anytime during a canopy descent or in the pattern. You must complete turn-reversal practice above your decision altitude in case you induce a line twist.
 Photo by Eddie Phillips.
How? To practice turn reversals, first check your canopy, altitude, position and traffic. Make a smooth but deep turn at least 90-degrees to the right, then reverse toggle positions smoothly but quickly for a 180-degree turn to the left. The first attempt should be a slow reversal of toggle positions. Note the depth of the toggle input and the line tension during the reversal. Continue to increase the depth of the toggle input and the speed of the reversal of toggle positions on subsequent practices to find the maximum depth of toggle input and speed of that input, while maintaining line tension and avoiding line twists.
5| Low-Turn Recovery
Why? Practicing low-turn recovery techniques builds muscle memory, allowing jumpers to quickly neutralize a turn. The technique stops the dive and slows the descent, allowing the jumper to achieve a level wing as quickly as possible before touch down.
When? Anytime you find yourself in a turn too low to the ground, when there is not enough time or altitude for the canopy to level out without immediate input from the jumper. A low-turn recovery requires a jumper to neutralize the turn immediately after recognizing the mistake, with the goal of returning to a level wing in time for a flare. Be prepared to flare from a braked position.
How? To practice low-turn recovery, first check your canopy, altitude, position and traffic. From full flight, pull one toggle down to at least quarter brakes to initiate a 90-degree turn. To neutralize the turn, pull the toggle that is still in full flight down to match the lower toggle, resulting in both toggles in a braked position, and think about doing a braked flare. During an actual emergency landing, hold the toggles even until the appropriate height to finish a braked flare and be prepared to do a parachute landing fall (PLF).
Most incidents and fatalities that occur from canopy collisions or landing errors can be avoided with proper practice of the canopy-flight EP drills outlined in USPA’s Stay Alive—Practice Five campaign. These drills must be rehearsed with the same attention and dedication applied to pulling the cutaway and reserve handles for a malfunctioning main canopy. To keep canopy-flight EP skills sharp, a jumper should practice each skill on dedicated hop-and-pop jumps at least once a month and log the jumps to stay on track. All jumpers need to explore their canopies’ performance characteristics and limitations. Furthermore, downsizing or a change in planform requires jumpers to practice the same drills under their new canopies to stay proficient and learn the limitations and flight characteristics of the new-to-them canopies. Expecting a new-to-you canopy to have the same performance and for your skills to automatically transfer over to the new planform can be a deadly mistake. Everyone leaves the airplane on every jump with a plan for a safe landing. You have the power to ensure that happens by building muscle memory for canopy-flight EPs and maintaining proficiency at 100%!